

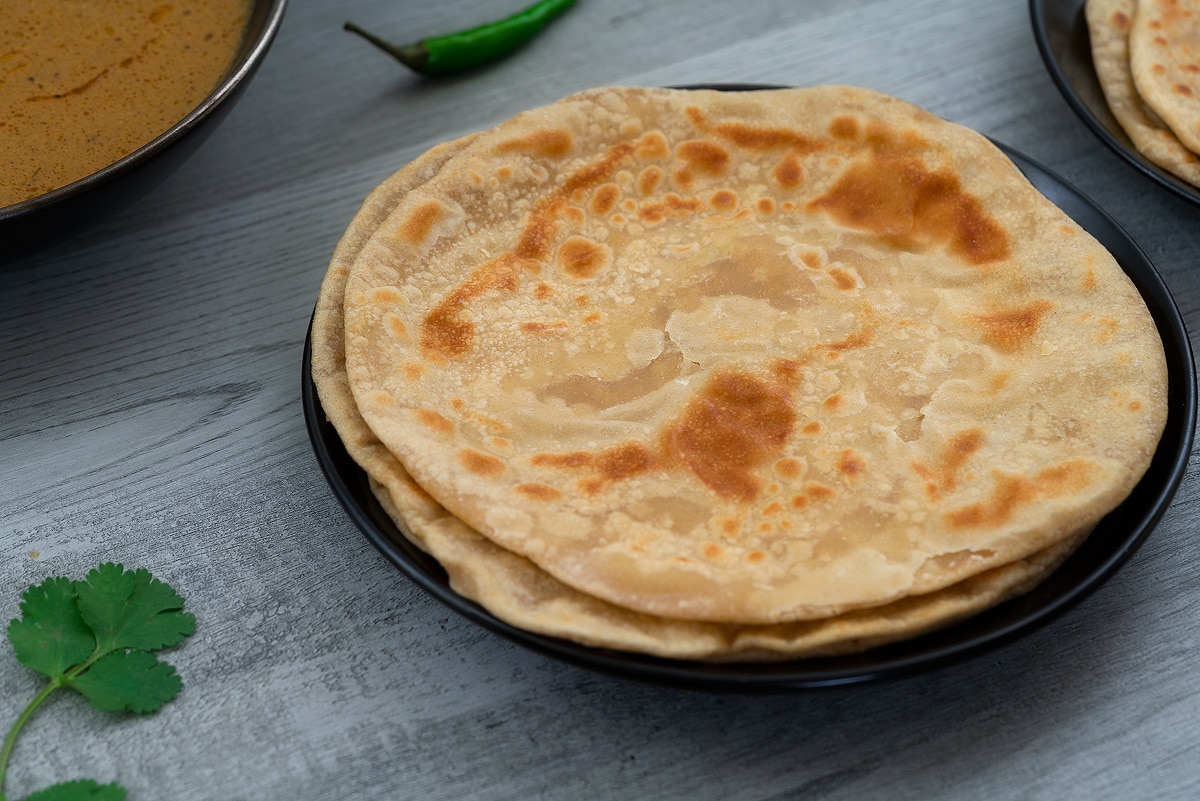
Roti, also known as Chapati, is an essential element of Indian cuisine, particularly revered in the North. This versatile, vegan-friendly flatbread is a staple for any meal, seamlessly complementing a variety of curries and side dishes.

Jump to:
Its preparation, involving rolling and cooking on a Tawa, imparts a unique puffiness and softness. Roti or Chapati, by any name, is a delightful and integral part of the Indian culinary experience, simple in its making yet rich in tradition and flavor.
Ingredients Overview
- Wheat Flour: The cornerstone of Roti, wheat flour gives the bread its structure and chewy texture. It's the base that absorbs the water and oil, forming a dough that's easy to knead and roll out.
- Water: This is crucial for combining the flour into a workable dough. The right amount of water ensures your Roti dough is neither too stiff nor too sticky, leading to a soft, pliable flatbread.
- Oil: A small amount of oil in the dough helps to create a softer texture in the Roti. It also adds a slight richness to the flavor and helps in keeping the Roti moist and flexible.
- Salt: Salt is a flavor enhancer to bringing out the natural flavors of the wheat flour and balancing the overall taste of the Roti.
How to Make Roti or Chapti at Home?
Begin the enjoyable process of making Roti, with each step illustrated through photos and videos. You'll learn to knead the dough, roll it out, and cook it on the Tawa, bringing this traditional Indian flatbread to life. Let's start.
Explore More Indian Breakfast and Dinner Delights:

Roti (Chapati)
Ingredients
For Dough
- 2 cup Wheat Flour
- 2 tbsp Oil
- ¾ cup Water
- Salt, as needed
For Making Chapati
- 2 tsp Oil, for each piece
Instructions
Kneading and Preparing Dough
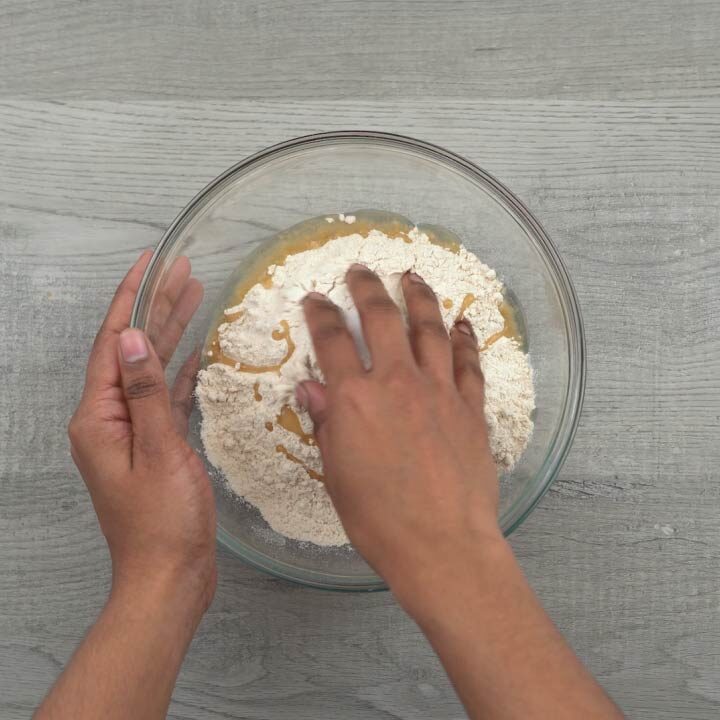
- Start by adding wheat flour to a deep bowl. Incorporate half of oil and salt, mixing well to ensure even distribution throughout the flour.

- Slowly pour in half a cup of water, using your hands to gently bring the flour together. This gradual mixing is crucial for avoiding lumps.
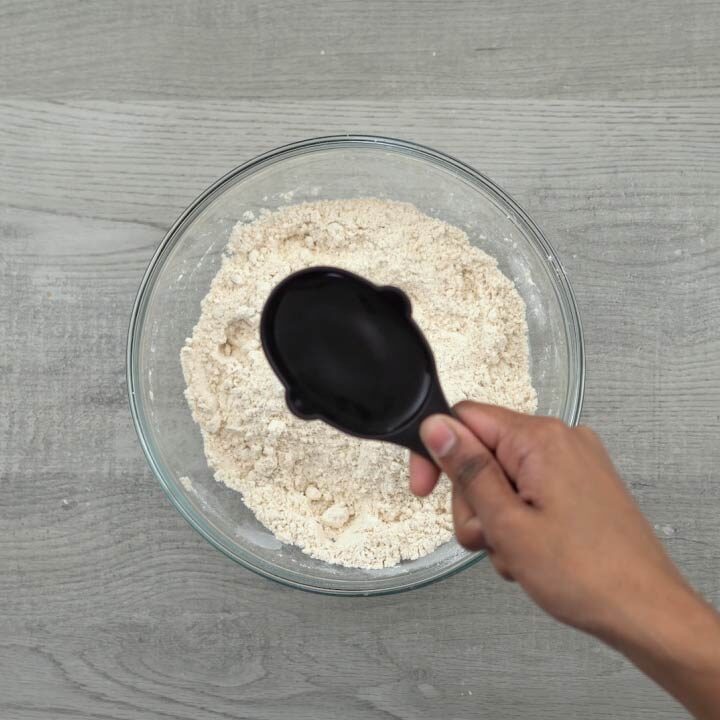
- Add the remaining quarter cup of water, continuing to mix by hand. Keep in mind that the total water needed may vary based on the flour's type and brand. Generally, a total of ¾ cup per 2 cups of wheat flour is sufficient, but you may need to adjust the amount slightly to achieve the right dough consistency.
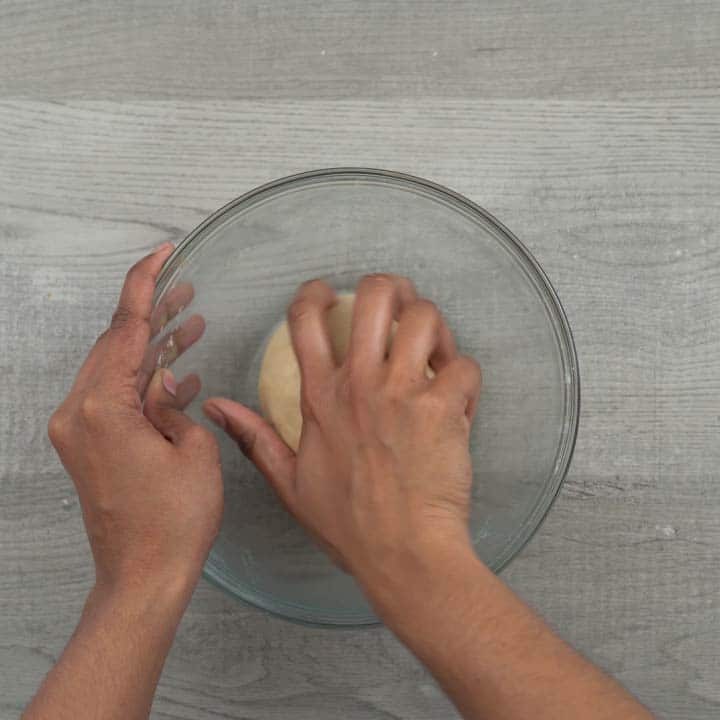
- Now, use your knuckles to knead the dough, applying moderate pressure. This step is key to developing gluten, which gives the Roti its structure. Knead for 5 to 7 minutes, or until the dough is soft and flexible. Proper kneading is essential for soft Rotis. Finally, drizzle remaining oil over the dough, ensuring it's evenly coated. This helps prevent the dough from drying out.
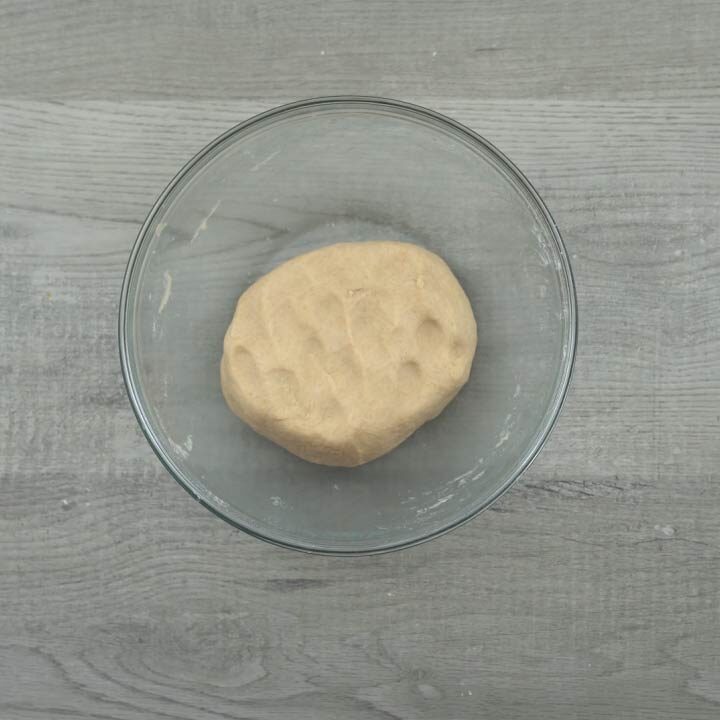
- Cover the bowl with a lid and let the dough rest for 15 minutes. This resting period allows the gluten to relax, making the dough easier to roll out later.
- After the resting period, remove the lid and check the dough. It should be notably soft at this point. Give it a final knead for approximately 2 to 3 minutes to achieve a consistent and uniform texture.
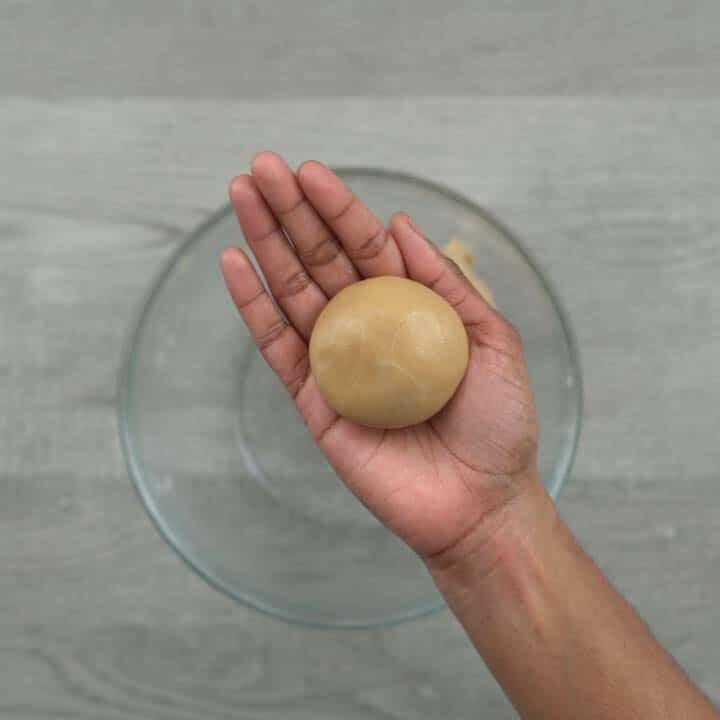
- Split the dough into equal portions. Roll each portion between your palms to form smooth, crack-free balls. This uniformity helps in even cooking.
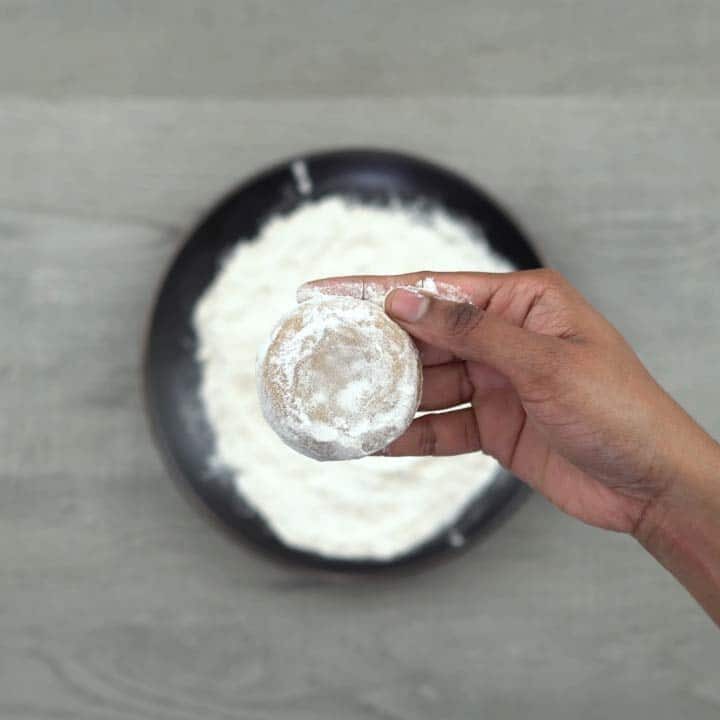
- Lightly dust each ball with dry flour, coating it on all sides. Then gently press down in the center to slightly flatten the dough, preparing it for rolling.

Making Roti/Phulka
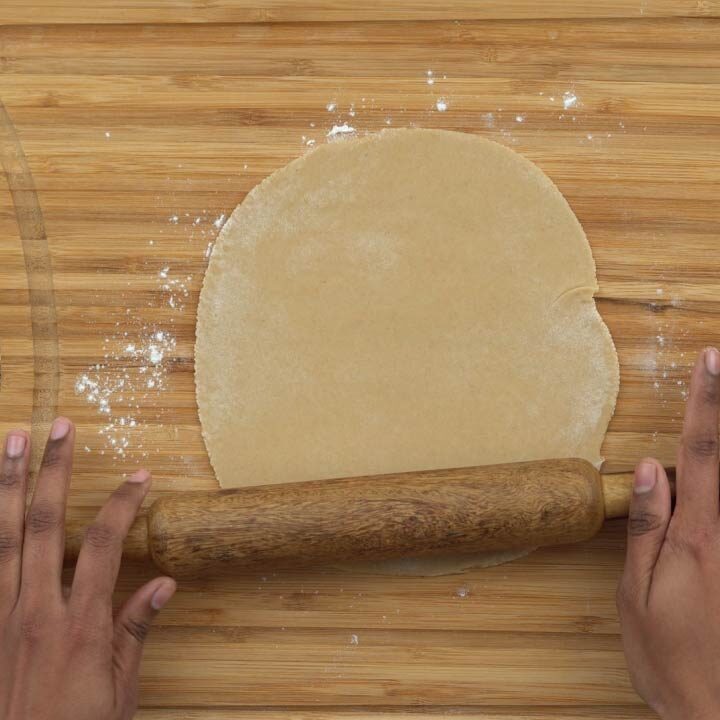
- Use a rolling pin to roll out the dough, starting from the center and moving outwards in a circular motion. Aim for a 5 to 6-inch diameter. If the dough becomes sticky during rolling, lightly dust it with more dry flour. This step is crucial for achieving the perfect thickness and preventing the dough from tearing.
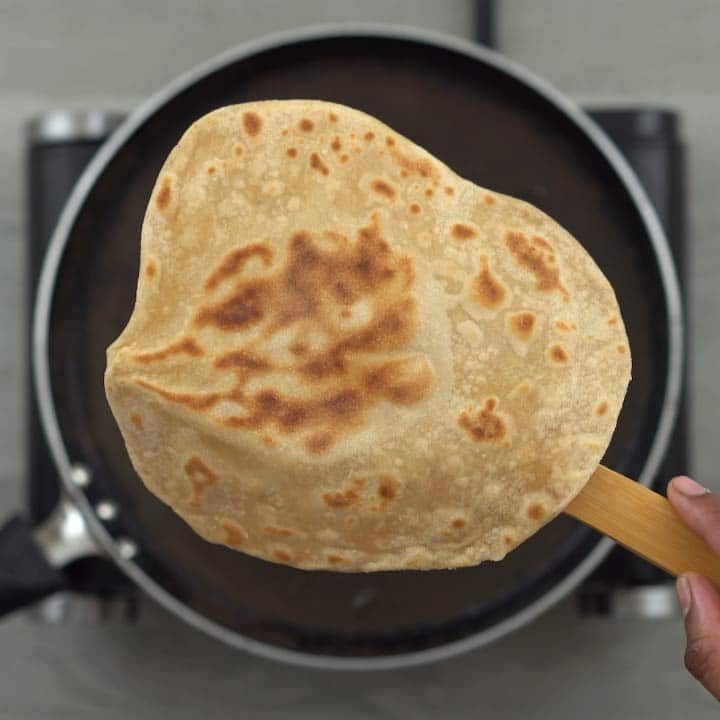
- Heat a Tawa or griddle over medium heat. An underheated Tawa can cause the Roti to cook slower, resulting in a harder texture. Place the rolled roti dough on it and cook until you see bubbles forming. Check for light brown spots forming on the bottom side of the roti using a tong, indicating it's time to flip.
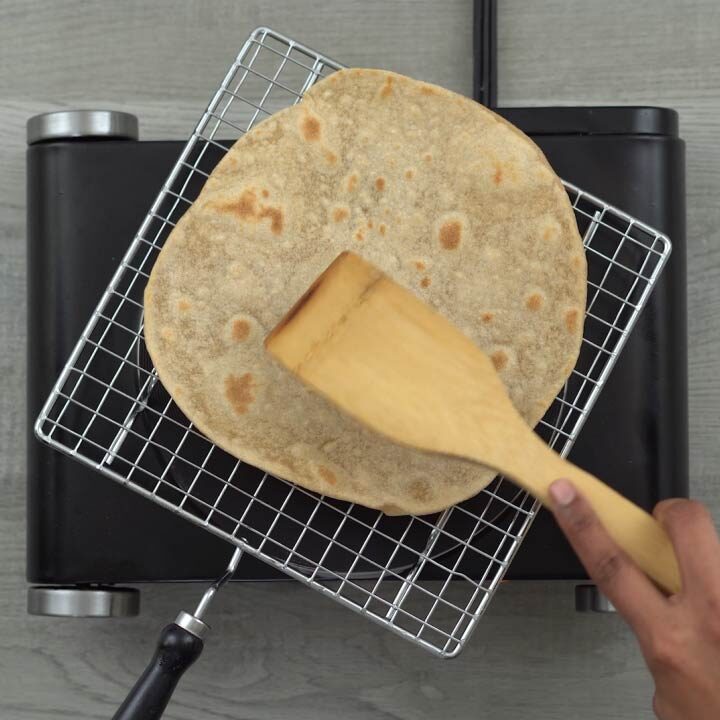
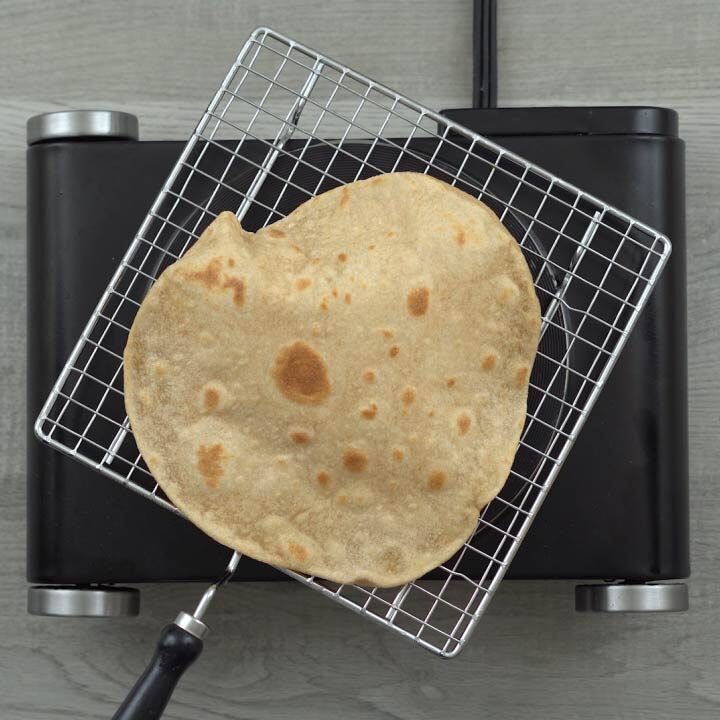
- Carefully lift the roti from the Tawa and place it on a phulka stand with the top side (the less cooked side) facing down. Keep the heat at a medium level. Watch as the roti begins to puff up from the heat.
- Once puffed, remove the roti from the heat. For a crispier texture, you can briefly cook the other side as well. Your soft and delicious roti is now ready to be savored.

Making Chapati
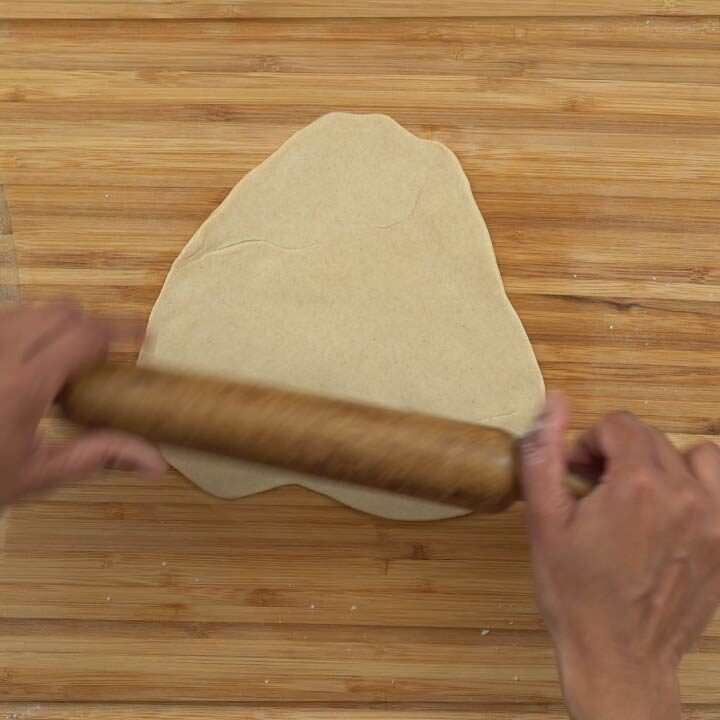
- For Chapathi, start by rolling the dough from the center. Then, apply 1 teaspoon of oil over the surface, fold it into a triangular shape, and continue rolling evenly. This method gives Chapathi its characteristic layered texture.
- Place the rolled triangular dough on a preheated Tawa and drizzle 1 teaspoon of oil if desired. Cook it evenly on both sides, looking for brown spots to appear, which indicate that the Chapati is properly cooked. Enjoy the warm, freshly made Chapati as a versatile accompaniment to a variety of dishes.
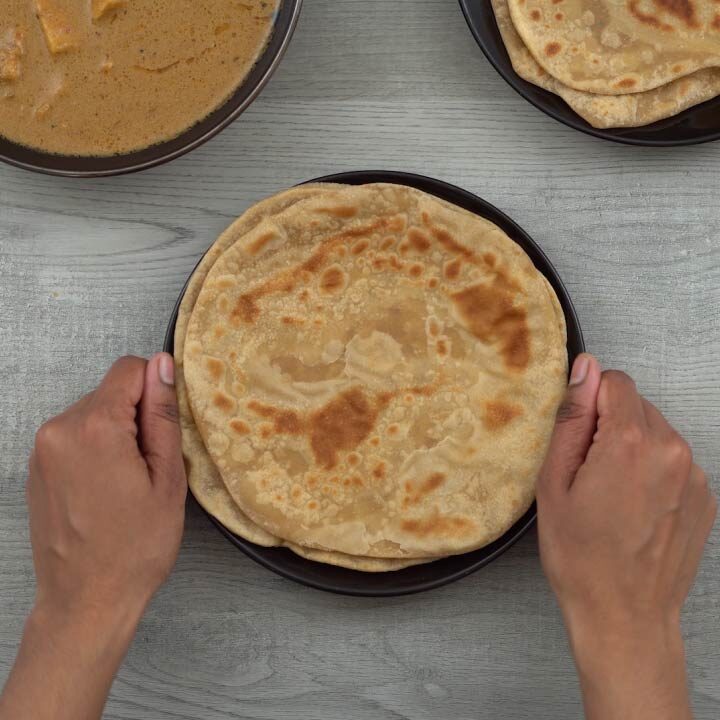
Serving
- Enjoy your freshly made Chapati as a delightful accompaniment to a variety of dishes. For more creative pairing ideas, refer to the serving suggestions section to enhance your meal experience.
Recipe Video
Chef's Notes and Tips
Dough Preparation and Consistency:
- Water Temperature: Use lukewarm water for kneading the dough. It helps in making the dough softer and more pliable, leading to softer Rotis.
- Dough Consistency: The dough should be soft but not sticky. If it's too dry, add a little more water; if it's too sticky, add a bit more flour. The right consistency is key to easy rolling and cooking.
- Portion Size: Keep your dough balls uniform in size. This helps in rolling out Rotis that are consistent in size and thickness, ensuring they cook evenly.
- Storing the Dough: If you're making the dough in advance, cover it with a damp cloth and store it in the refrigerator to keep it fresh. Bring it to room temperature before rolling and cooking.
Rolling, Cooking, and Flavoring Techniques:
- Rolling the Dough and Technique: Aim for an even thickness while rolling the dough from the center outwards. Ensure the dough is neither too thick nor too thin for uniform cooking. Be mindful to apply gentle pressure; too much can result in dense Rotis.
- Heat Adjustment: While cooking the Roti on the Tawa, adjust the heat as needed. If the Roti cooks too quickly, it might not puff up properly. If it cooks too slowly, it can become hard.
- Puffing Up: For the puffing process, some people use a cloth or a spatula to gently press the Roti on the Tawa, encouraging it to puff up evenly.
- Experiment with Flavors: Feel free to add herbs or spices to the dough for an extra flavor kick. Ingredients like carom seeds (ajwain), cumin seeds, or dried fenugreek leaves (kasuri methi) can add a delightful twist.
- Practice Makes Perfect: Don't be discouraged if your first few Rotis aren’t perfect. Each attempt is a learning experience.
Nutrition Info
Disclaimer
We're not nutrition experts, and the nutritional information provided is an estimate. Please use it as a guide. For precise details, it's best to consult a professional. To learn more, please view our Detailed Disclaimers.
Begin a gastronomic exploration with a wide range of Indian recipes, featuring vegetarian breakfast options. Each recipe is a delightful blend of rich flavors and varied textures, ensuring a memorable taste experience.
Serving Suggestions
- Curries and Gravies: Roti is a perfect accompaniment to rich and flavorful Indian curries, both vegetarian and non-vegetarian. Pair it with classics like dal makhani, palak paneer, or chicken curry for a fulfilling meal.
- Dry Vegetable Dishes: Serve it alongside dry or semi-dry vegetable preparations such as aloo gobi, bhindi masala, or Paneer Bhurji. The softness of Roti complements the texture of these dishes beautifully.
- Dips and Spreads: Enjoy Roti with a variety of dips and spreads like hummus, yogurt-based raitas, or spicy chutneys for a light and tasty snack.
- Rolled Wraps: Use Roti as a base for wraps. Fill them with a mixture of grilled vegetables, paneer, or cooked meat, and some tangy sauce or chutney for a quick and delicious meal.
- Accompaniment to Non-Veg Dishes: Roti goes well with non-vegetarian fare like butter chicken, egg curry, or rogan Josh, soaking up the rich flavors of these dishes.
- With Pickles and Yogurt: For a simple yet satisfying meal, serve Roti with Indian pickles (Achaar) and a bowl of fresh yogurt or curd.
Storage Suggestions
Here are some tips for storing and reheating Roti, ensuring it remains soft and fresh, whether enjoyed immediately or later.
- Immediate Serving: Ideally, enjoy Roti right off the Tawa. However, if you need to store it for a few hours, wrap it in a soft cotton cloth and keep it in a closed container. This method helps maintain its warmth and prevents it from drying out.
- Reheating Tips: To revive the Roti's freshness, reheat it on a Tawa or gently in the microwave. This process helps to bring back the Roti's softness, making it almost as good as freshly made.
- Lunch Box Preparation: For a lunch on the go, first encase the Roti in a paper towel, then in aluminum foil. The paper towel absorbs any excess moisture, keeping the Roti soft and preventing sogginess, while the foil locks in freshness.
- Refrigeration for Freshness: If you have leftover Roti, store it in an airtight container and refrigerate. This method helps preserve its taste and texture for up to a day.
- Moisture Restoration: When reheating refrigerated Roti, lightly mist or sprinkle water on its surface. This step reintroduces moisture, ensuring the Roti regains its original soft and pliable texture.
Roti Variations Across Regions
Explore the diverse world of Roti, where regional variations and ingredients transform this staple into an array of flavors and textures, each with its own unique culinary charm.
- North Indian Technique: Start by partially cooking the Roti on a Tawa, then finish it off over an open flame. This method brings a delightful char and enhances the puffiness, giving the Roti a unique texture that's crispy on the outside and soft on the inside.
- Tawa-Only Cooking: For a simpler approach, completely cook the Roti on the Tawa. This method is great for those who prefer their Roti with a uniform texture, slightly crisp and golden brown throughout.
- Ghee-Enhanced Flavor: After cooking, brush the Roti with ghee instead of oil. This not only adds a luxurious richness but also imparts a fragrant aroma, elevating the overall taste.
- Layered Chapatis: Add a culinary twist by spreading oil on the rolled-out dough, folding it into a triangle, and rolling it out again. This creates multiple layers in the Chapati, making it flaky and perfect for soaking up the flavors of robust curries like Chole or Aloo Gobi.
- Diverse Flours: Venture into different flavors and nutritional benefits by using flours like jowar (sorghum), Ragi (finger millet), or rice flour. Each flour contributes its own unique taste and texture, from the nuttiness of jowar to the earthiness of Ragi, offering a delightful variation to the traditional wheat Roti.
Leave a Review